

Creating an isometric design in Inkscape is quite easy, easier than creating it in Corel Draw. The ease is that we don't need to create manual guide lines, just click and it's done.
So how do you do it? Follow these steps.
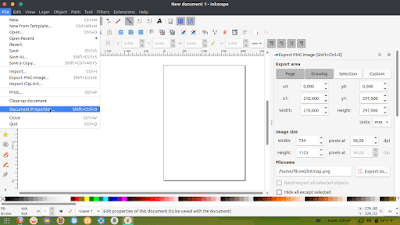
- Open Inkscape and click File > Document Properties.
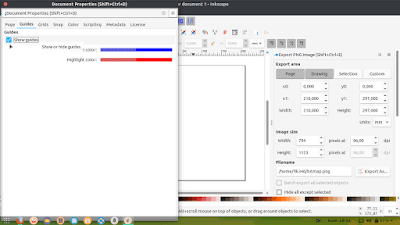
- Check "Show guides" on the Guides Tab.
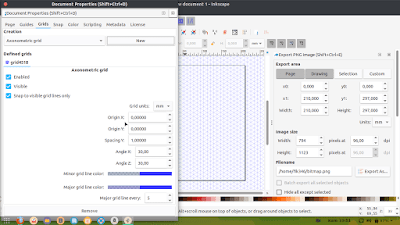
- Move to the Grids tab, select "Axonometric" and click new.
- Now, create your isometric design as desired.
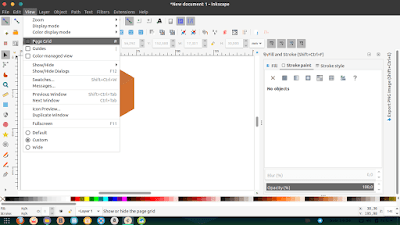
To hide the grids, click View and uncheck "Page grids."
If you are done, please duplicate all objects so that there are no white lines at every object intersection. To do this, select all objects, press CTRL+A, and then press CTRL+D. Done.
To create it, you have to rely on your own creative ideas or try to imitate from those who are experienced. Please practice How to Create an Isometric Design in Inkscape from me. Hopefully, it will be useful.
Share this article: