
Highlighting on screenshots helps to show something very important in the screenshot image. You can use free software like GIMP to highlight your screenshot images.
Purpose of Screenshot Highlighting
By applying highlighting to screenshot images, the images in your articles will look more professional. People who see the screenshot will find it easier to understand what is important to do, so your readers won't be confused by the screenshots you include, as they can easily find the marked purpose.
Screenshot Highlight Example
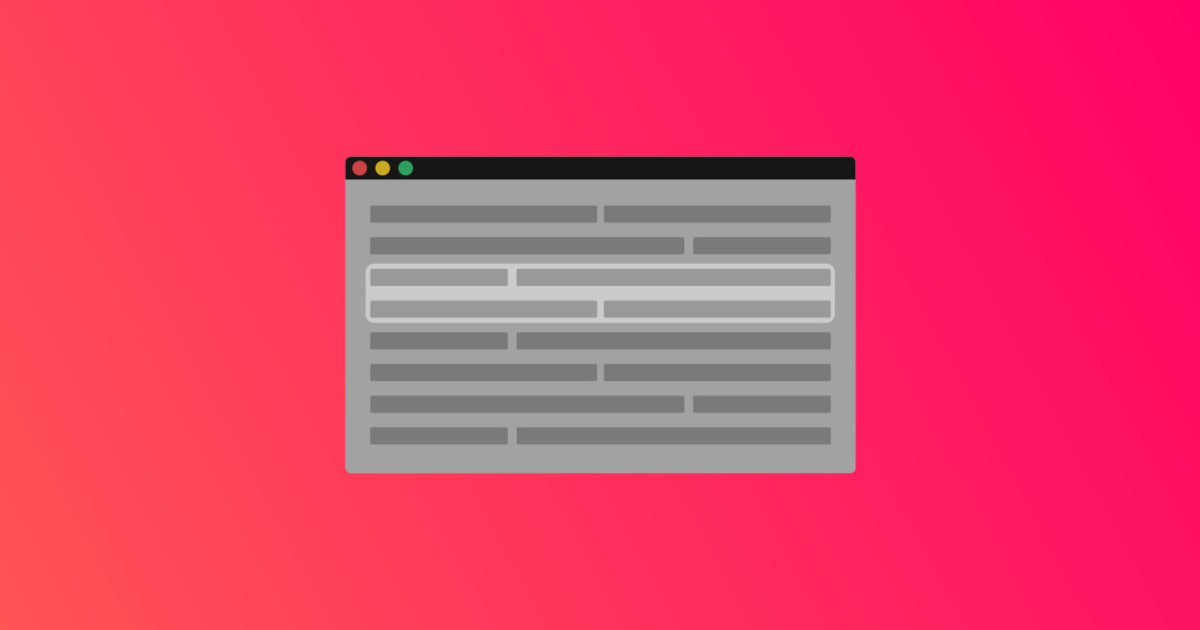
Previously, let's compare screenshot images that have been highlighted and those that haven't. Try to find the label in the following image (click for high resolution).

Have you found it? How long did it take to find the word "label"? It might be quick for those who are familiar with Blogger's layout, but it's unlikely for those who are not familiar with Blogger's layout to find the word "label" quickly. Why? Because there is no sign or highlight indicating what is most important and what is not important, or what we call a highlight.
Now try to find the words "Javascript Fundamental" in the screenshot image that has been highlighted below. To make it unfamiliar with the image above, I have changed the image.

Have you found it? How fast? Very fast? I'm sure you found it in an instant, unless (I apologize) you have vision problems. Because the highlighted part will look different from the rest, so the eyes will immediately focus on the highlighted image. Wouldn't applying highlights make your blog readers more comfortable?
Why Use GIMP?
The reason I use GIMP is that it's free. Yes, GIMP is open-source software that you can use as freely as you want, even modifying the software itself if you can. Besides that, GIMP can be used on all desktop operating systems, from Windows, macOS, and Linux. As a Linux user, of course, I prefer to use GIMP over paid software like Photoshop. It's not impossible to install Photoshop on Linux because there are Ways to Run Windows Applications and Games on Linux, but I don't want to bother and certainly prefer open source over pirated software. Besides that, GIMP runs lighter than Photoshop and its size is not large to install on your computer.
How to Highlight Screenshot Images
Since we are using GIMP, you must make sure you have GIMP first. If not, please open the GIMP page.
Now open your GIMP, and open the image file you want to highlight by accessing the menu File > Open or by using the shortcut Ctrl+O.

If you have a screenshot already in your clipboard, you can also use it as a new image by accessing the menu Edit > Paste as > Paste as New Image, or by using the shortcut Ctrl+Shift+V.

Then select the rectangle tool, which can be done with the shortcut R.

Now select the part you want to highlight in the image.

Now invert the selection by accessing Select > Invert, which can also be accessed with the shortcut Ctrl+I.
Because you have used invert, what was originally selected becomes unselected and vice versa. Now please select the Paint Brush tool, which can also be done with the shortcut P. We will use this tool to darken the unhighlighted parts.

Set the tool in the Tool Options section with 50% opacity. For the brush, choose one that doesn't have blur or is solid, and the size can be adjusted as needed. The opacity function allows the unhighlighted part of the image to still be readable, and a solid brush speeds up the process of darkening the image. See the following image.

Please apply the brush as if you were scribbling on a book over all parts of the image, but when you click and hold, do not release the click until all unhighlighted parts are colored. If you release and continue, the previous color will be overwritten with the new color, resulting in two layers of color and an untidy appearance in the unhighlighted part.

Example of a neat highlight brush

Example of an untidy highlight brush
Now just export so that the result of the highlighted screenshot image can be used in your blog article. To do this, access File > Export or Export As, which can be done with the shortcut Ctrl+E or Shift+Ctrl+E.

Use JPEG format to be more friendly for blog loading, because JPEG size is smaller than PNG so it opens faster when applied to a blog.
Final Words
Hopefully, this tutorial on highlighting images with GIMP can be useful for those of you who read it. Thank you..